Settings Screen
Description
Configure APA to your preferences.
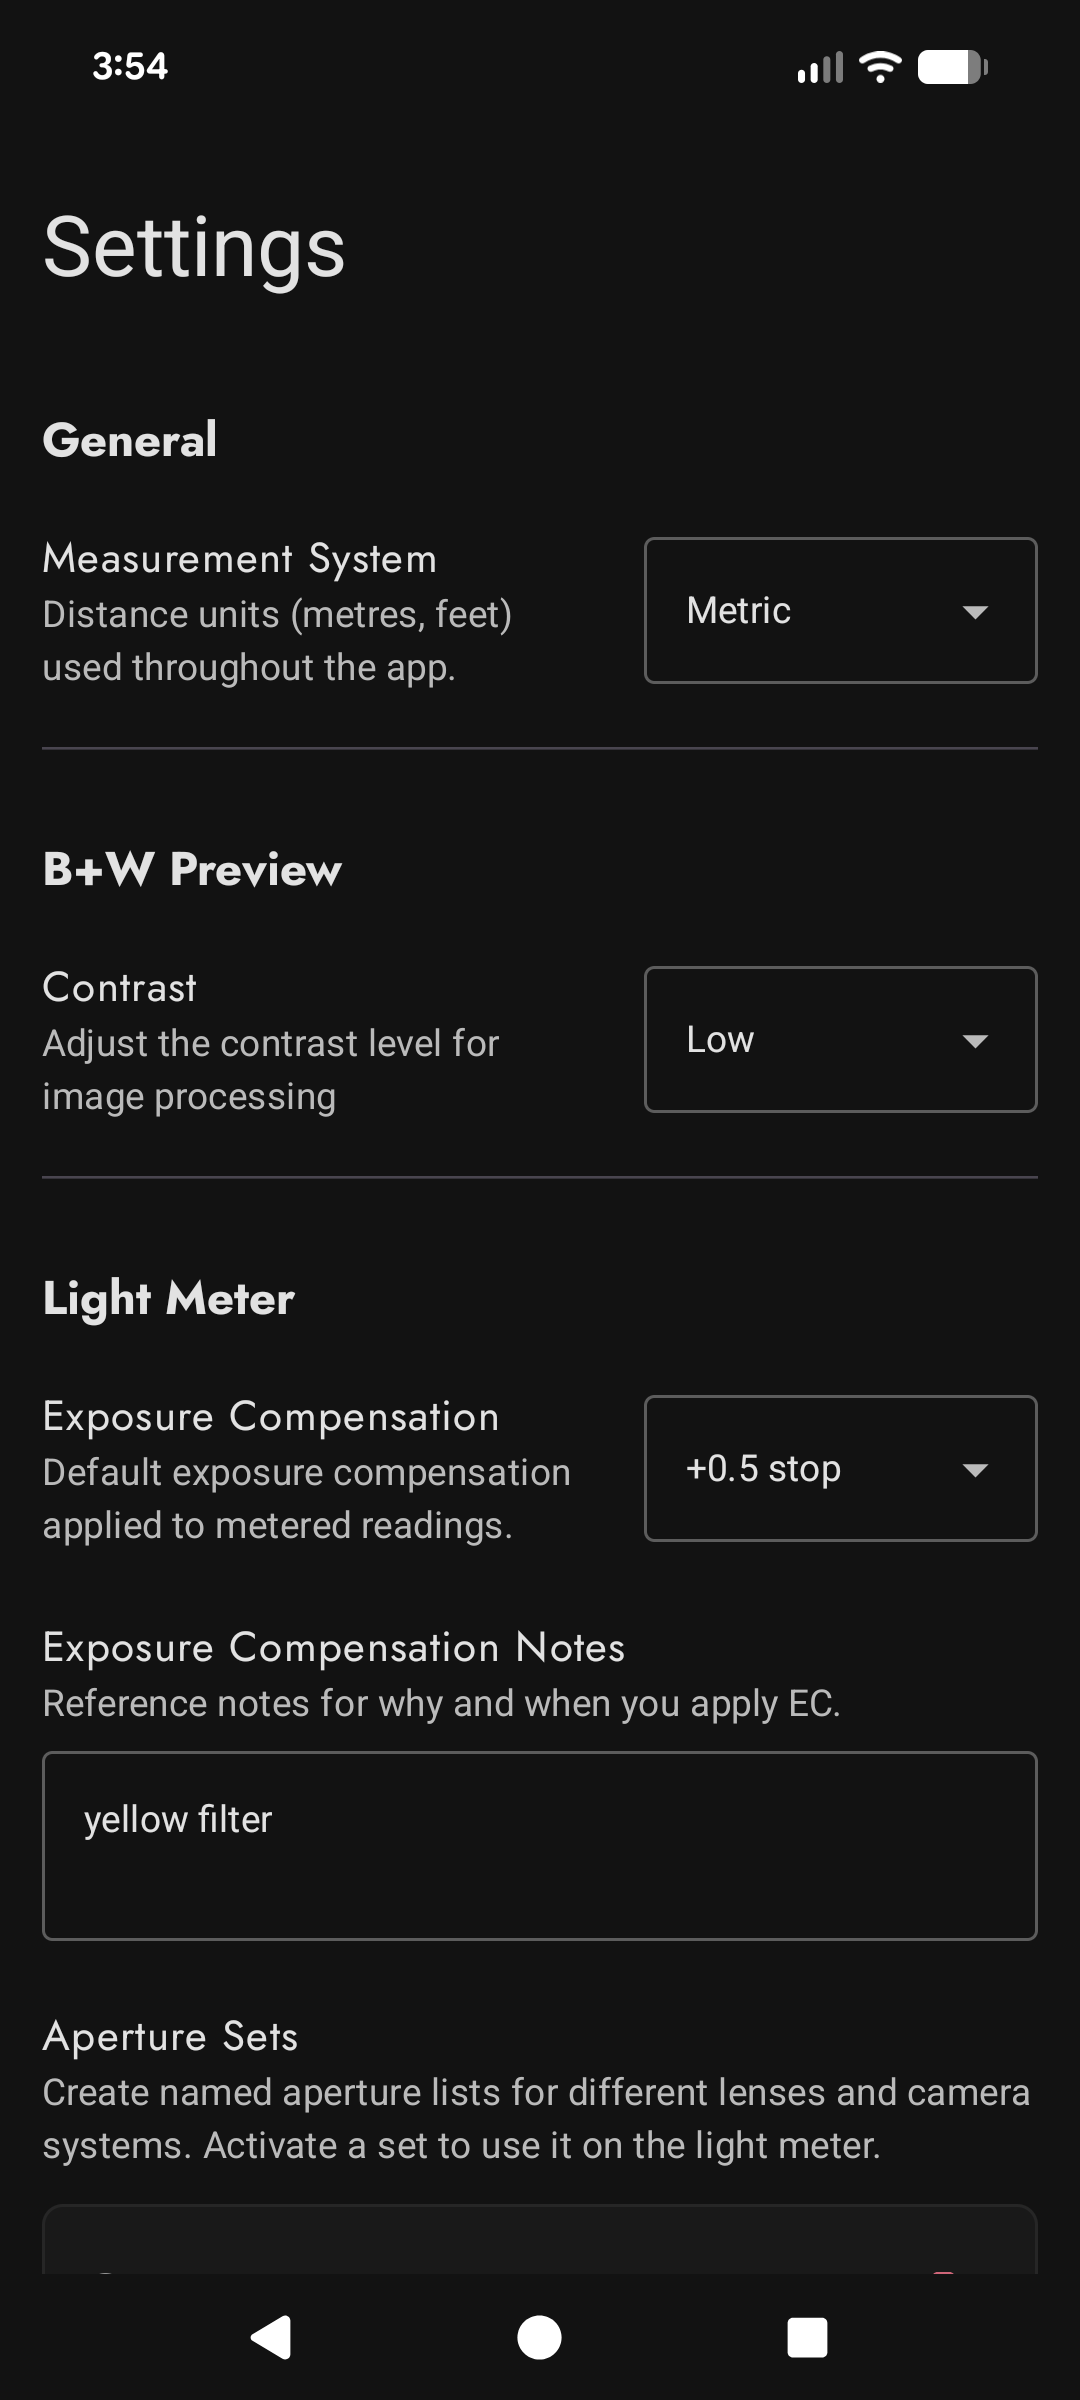
Measurement System
Choose how distances are entered and displayed in supported tools, including the Depth of Field calculator.
- Metric uses metres and centimetres.
- Imperial uses feet and inches.
Defaults to your phone’s locale.
B+W Preview -> Contrast
Choose the tonal contrast applied to the live monochrome camera preview. This setting changes the preview only; it does not change Light Meter calculations.
- De-saturated gives the flattest preview, with the least separation between light and dark tones.
- Low gives a natural, low-contrast preview. This is the default.
- Medium adds stronger separation between light and dark tones.
- High gives the strongest contrast, making highlights and shadows appear more pronounced.
Light Meter
Exposure Compensation
Set a correction that APA applies to every metered reading. The available range is -4 to +4 stops, in half-stop increments:
- Choose a positive value to recommend more exposure. For example,
+1stop doubles the exposure time for the same aperture and ISO. - Choose a negative value to recommend less exposure. For example,
-1stop halves the exposure time for the same aperture and ISO. - Choose 0 stops to use the metered reading without compensation. This is the default.
Exposure compensation can be useful for calibrating the APA light meter, accounting for a filter factor, or deliberately placing a bright or dark subject where you want it.
Exposure Compensation Notes
Store a reminder explaining why you use your chosen exposure compensation. For example:
+1 stop for the yellow filter, or +0.5 stop when exposing this film for the shadows.
Notes are for your reference and do not affect the exposure calculation. The field is empty by default, and the same note is available from the Light Meter’s ISO and exposure controls.
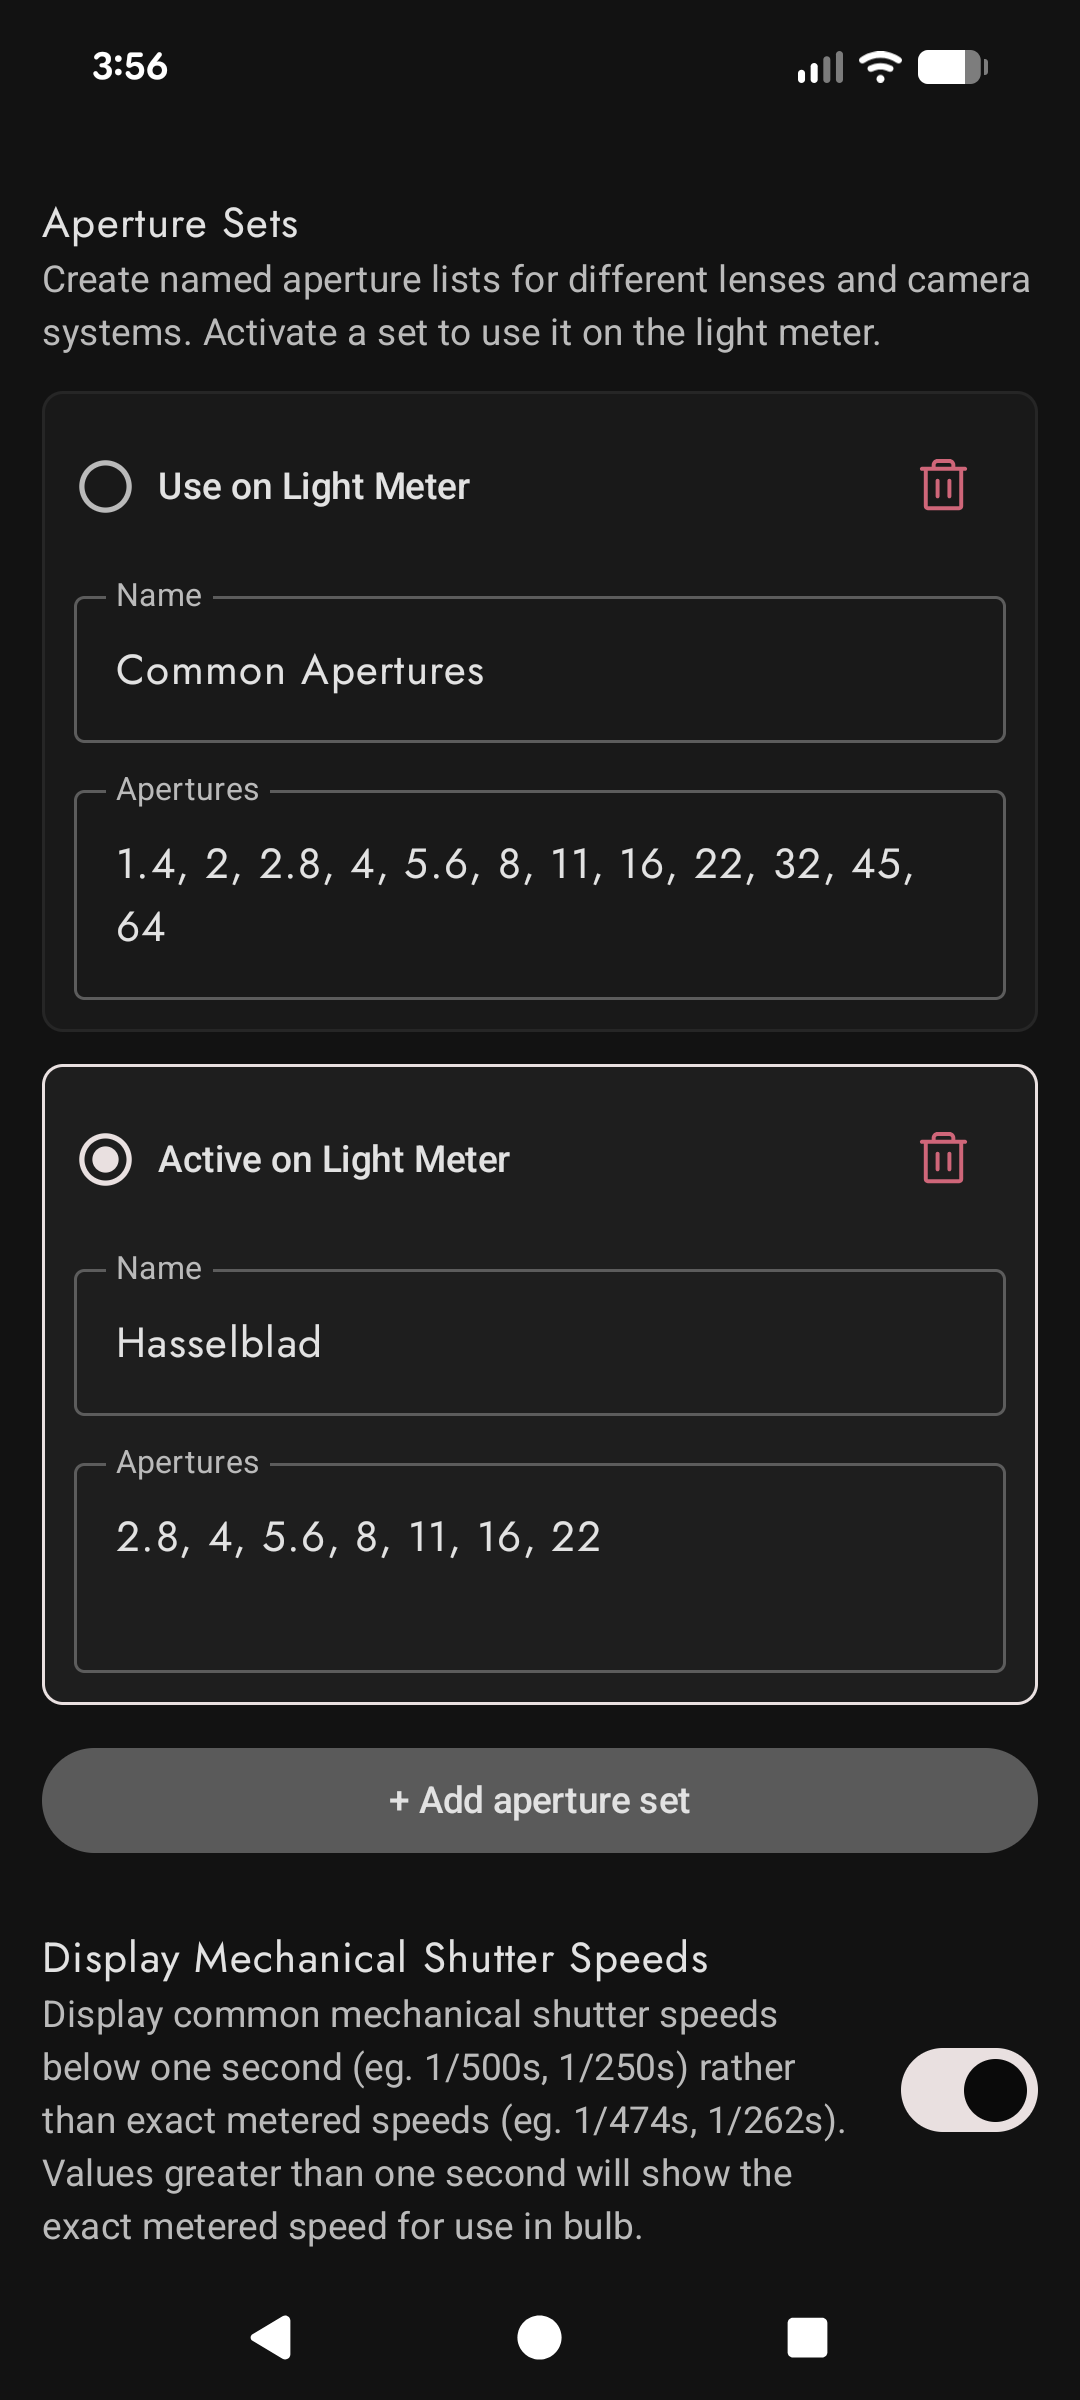
Aperture Sets
Create named lists of f-numbers for your different lens or camera systems. The active set determines which apertures APA uses when it builds the Light Meter’s table of equivalent exposures.
The default set is Common Apertures, containing:
f/1.4, f/2, f/2.8, f/4, f/5.6, f/8, f/11, f/16, f/22, f/32, f/45, and f/64.
You can:
- select Use on Light Meter to make a set active;
- edit a set’s name or aperture values;
- choose Add aperture set to create a set for another lens or system; or
- delete sets you no longer need. At least one set must remain.
Enter one or more positive f-numbers, separated by commas, spaces, or new lines. Both 5.6 and f/5.6 are accepted. Duplicate values are removed and the saved apertures are arranged from widest to narrowest. A newly added set becomes the active set automatically.
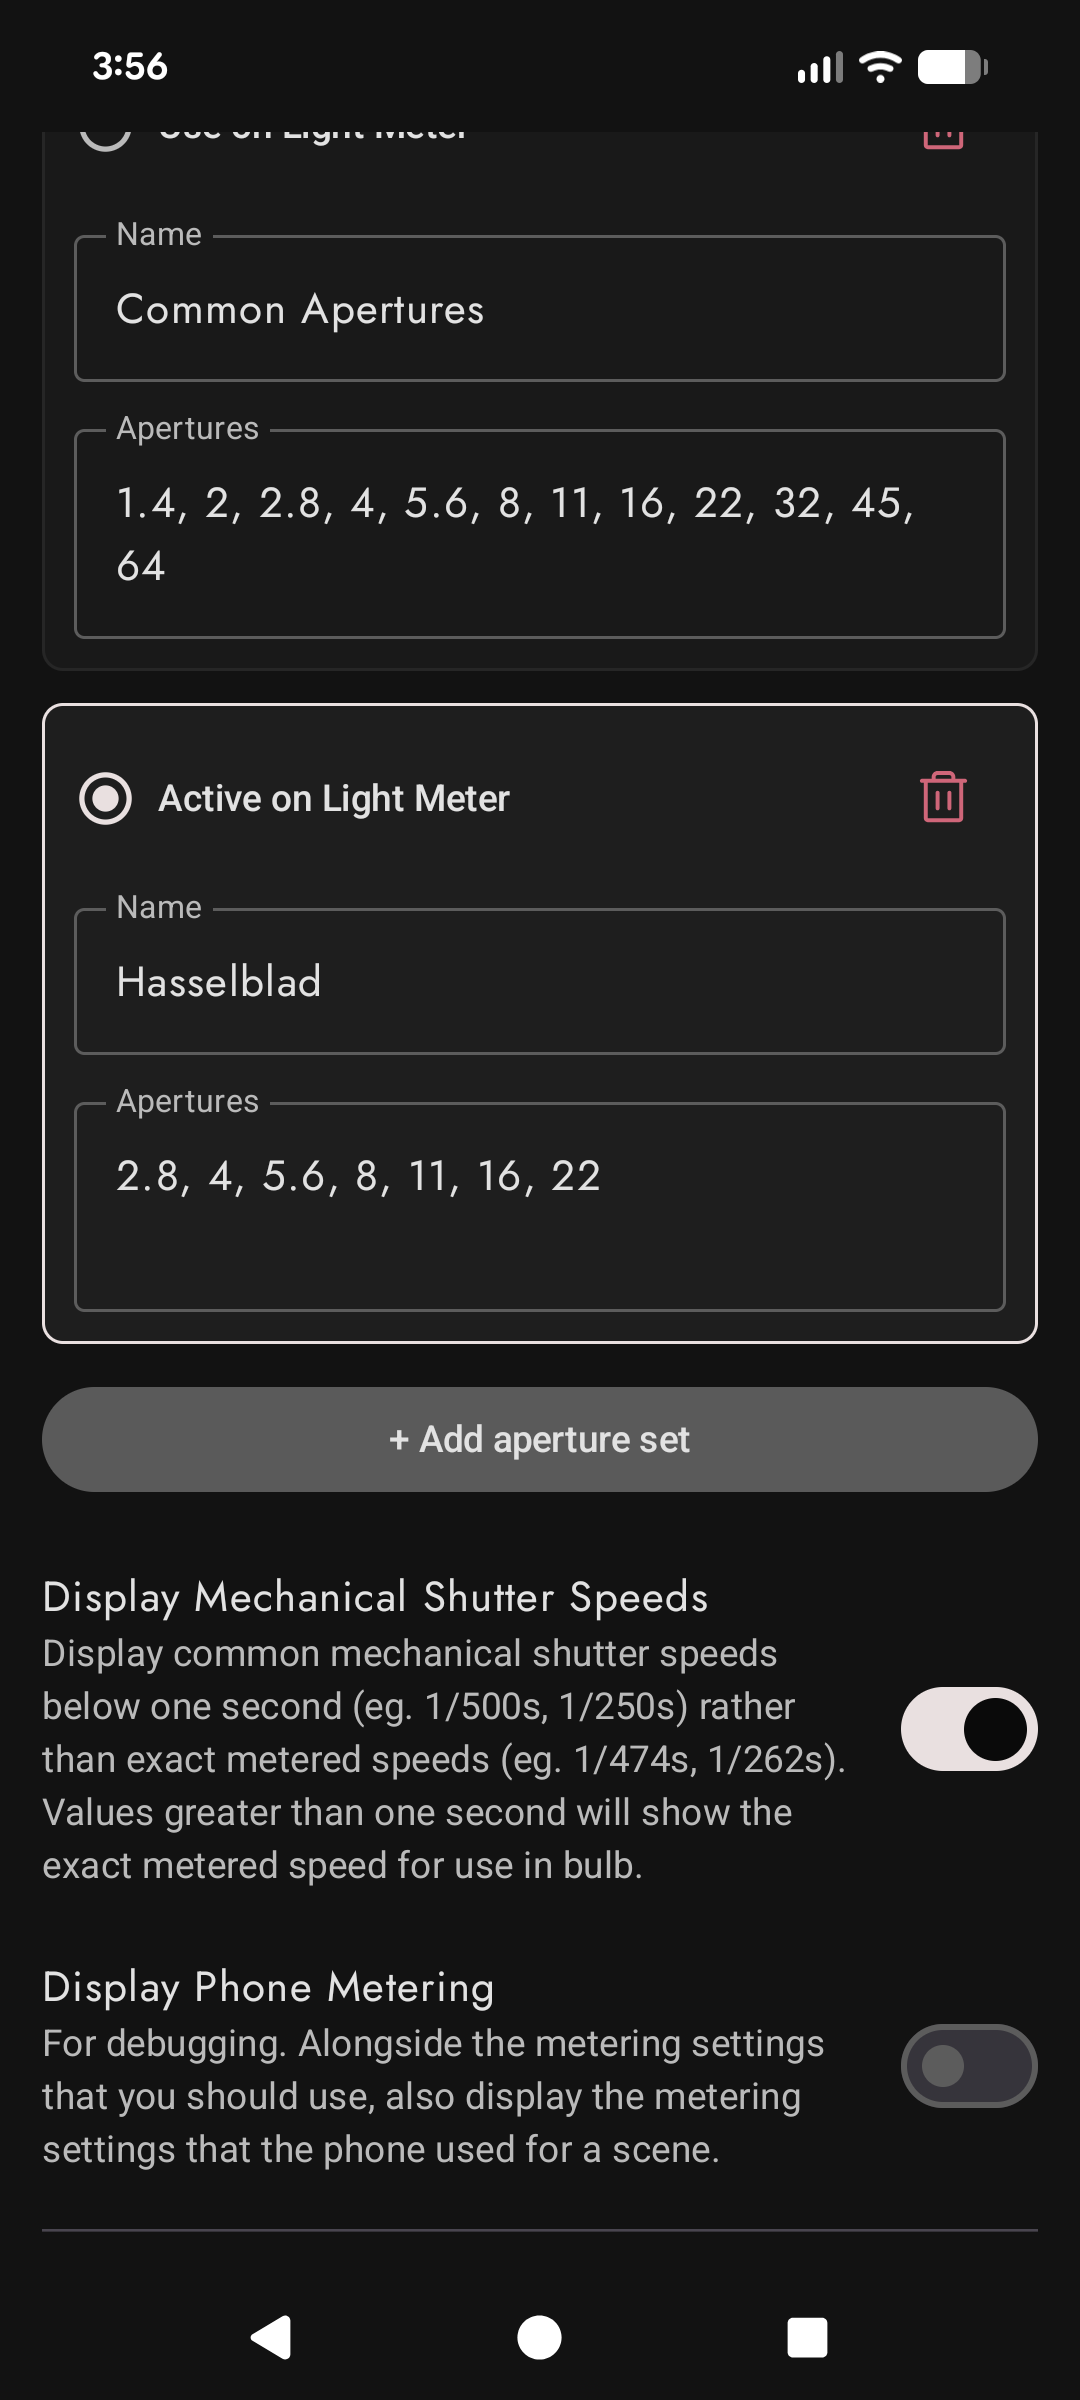
Display Mechanical Shutter Speeds
Choose how the Light Meter formats shutter speeds of one second or faster.
- On For shutter speeds faster than one second, shows the nearest common mechanical shutter speed, such as
1/500or1/250, instead of an exact calculated value such as1/474or1/262. This is the default and is usually the most useful choice for a film camera with fixed shutter-speed positions. - Off shows the calculated shutter speed as precisely as the display allows.
This setting changes how shutter speeds are displayed; it does not change the underlying meter reading. Exposures longer than one second remain exact so that you can time them in Bulb mode.
Display Phone Metering
Show the exposure settings that the phone’s camera used to measure the scene, including its aperture, shutter speed, ISO, and EV reading.
- Off hides these diagnostic values. This is the default.
- On shows them above APA’s recommended exposure combinations.
This is a debugging and comparison aid. The phone’s own settings are not the settings you should transfer directly to your film camera; use APA’s exposure table for that.
Screenshots