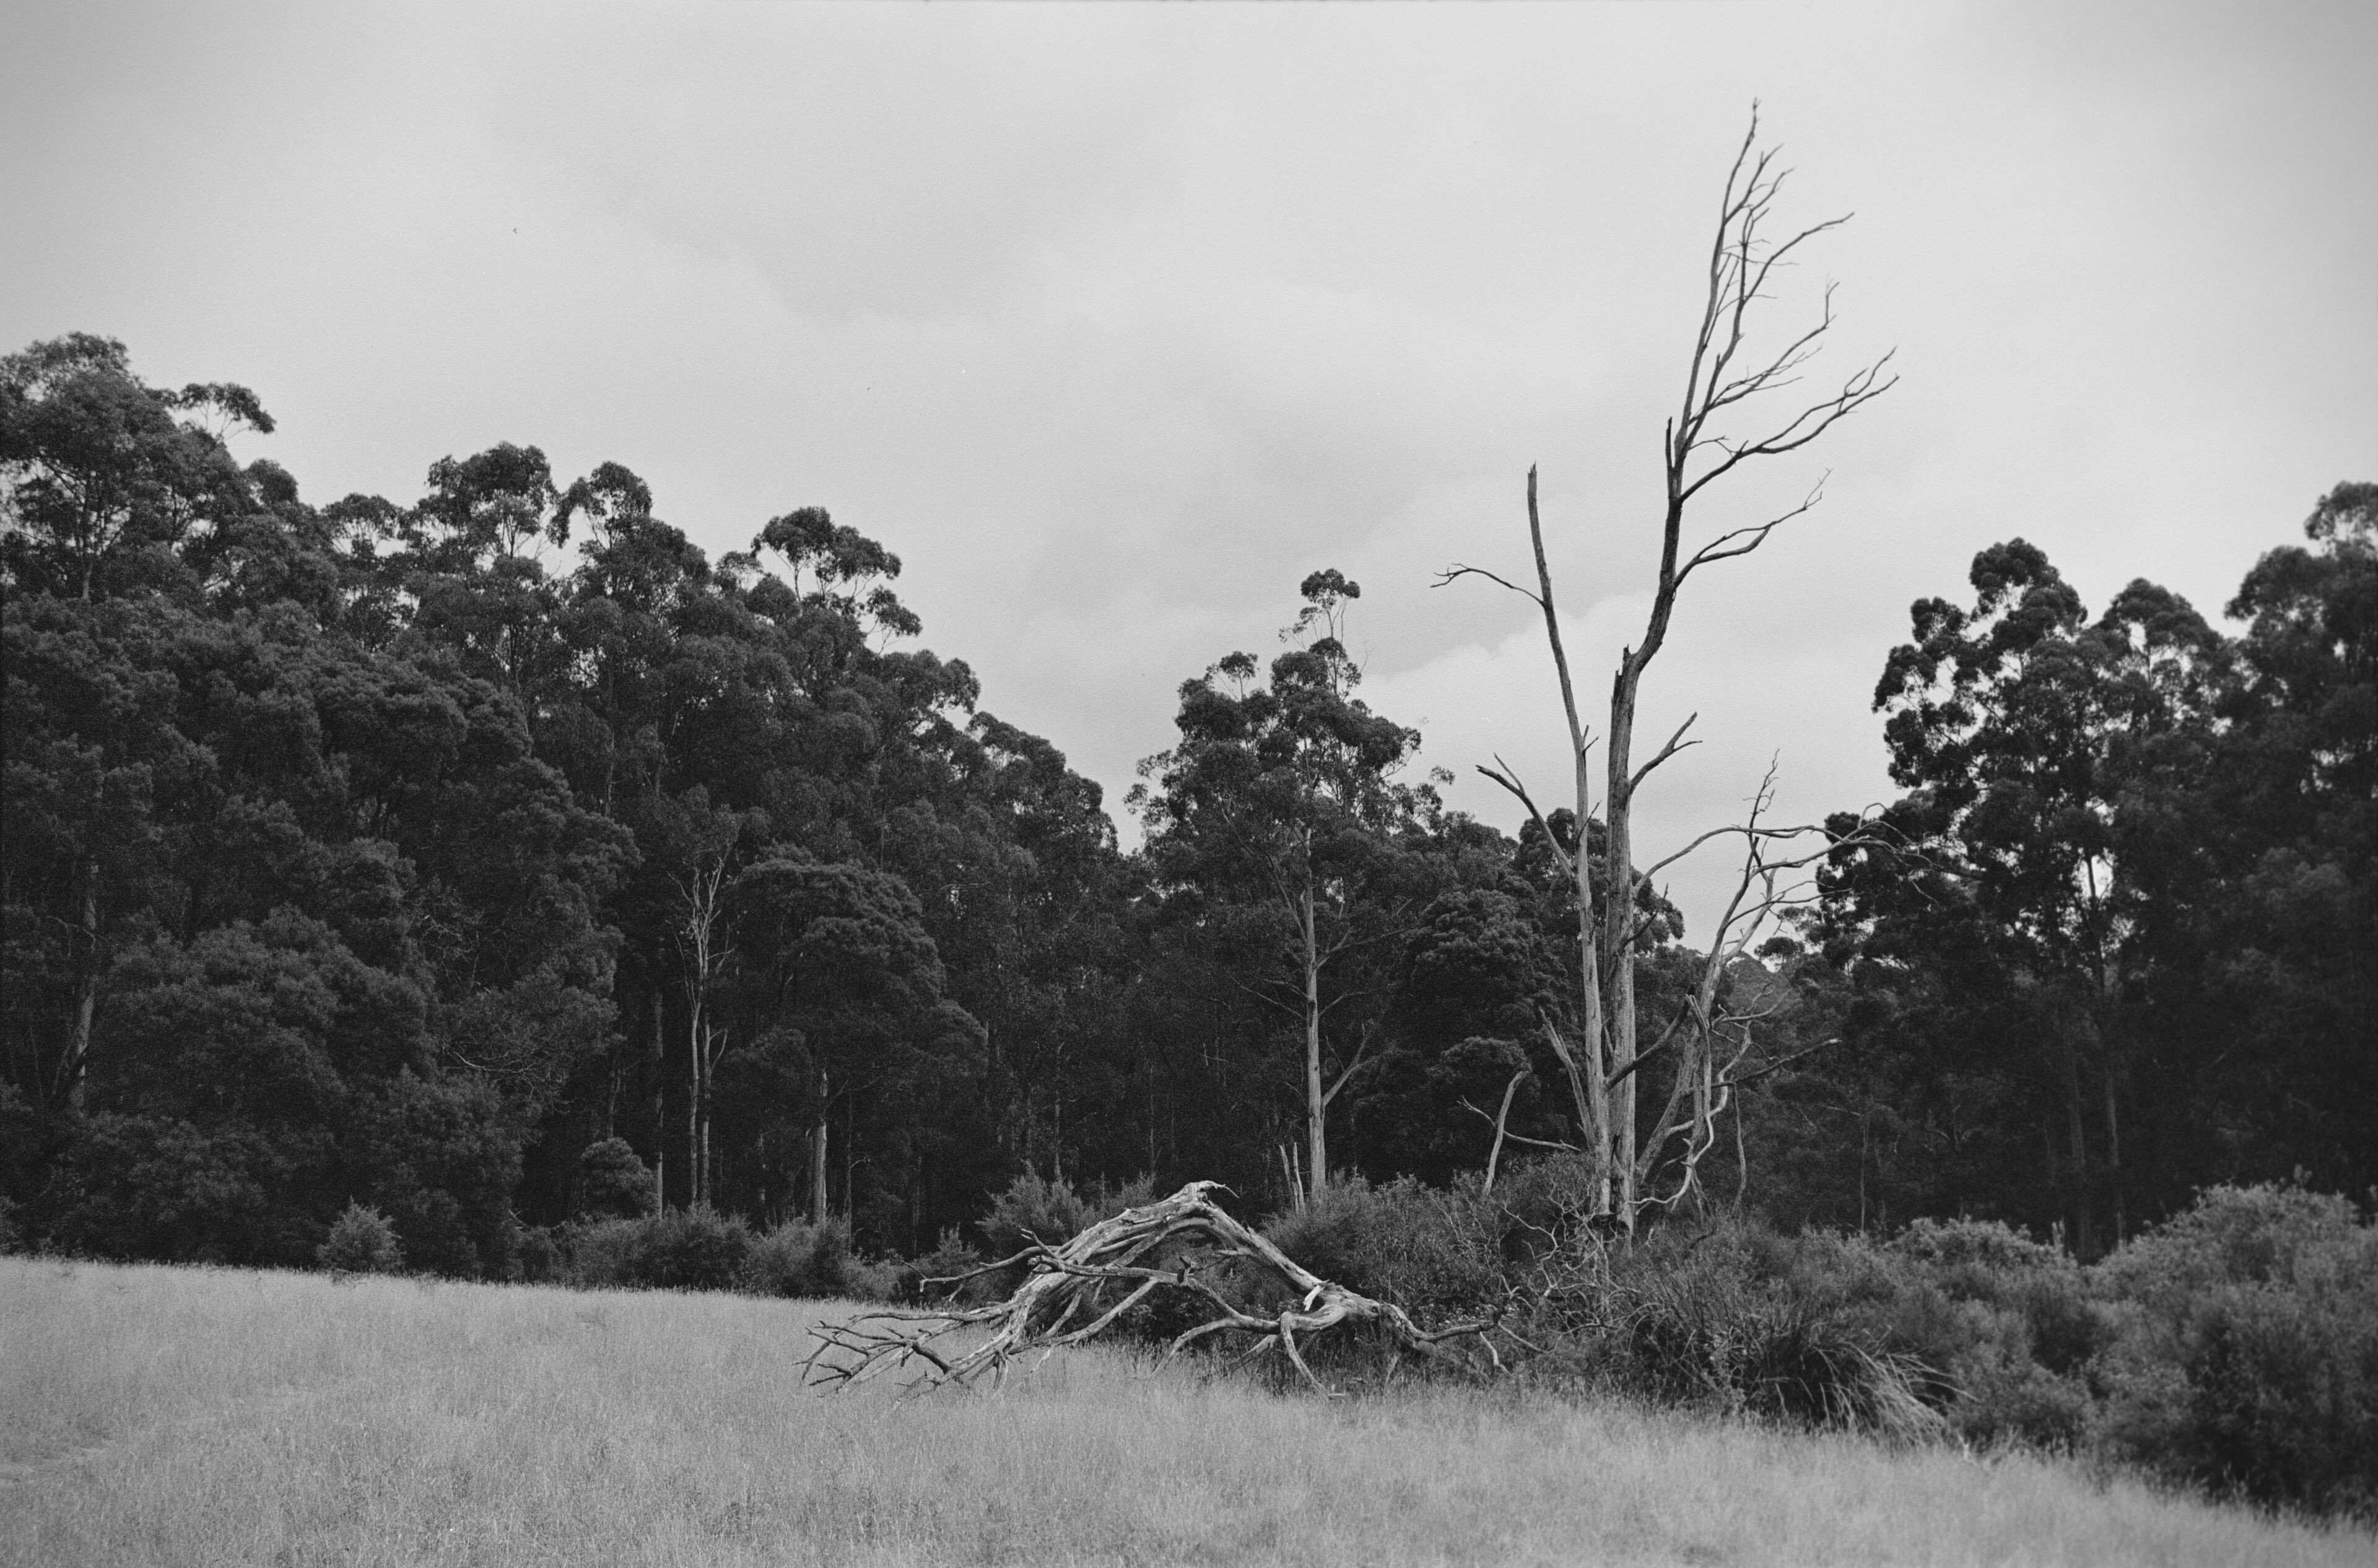
Belgrave Forest
I get my film developed at a local film lab and scan the negatives myself at home. The scanning setup is simple. I suspend the film negative flat over a lightbox, mount my sony digital camera to a copy stand so that it’s facing down, and shoot the negative using a macro lens. I get much better results than the local film labs can give me – more fine detail in the image, more megapixels which allows me to crop, and a RAW file output that allows me to adjust relative exposures.
This blog shares some obvious and some not-so-obvious tips that I’ve learned from scanning my own negatives for a few years. Photos make up edition XII of the Melbourne Photography series.
Focus
Because the focal plane of the digital camera is so close to the negative, a macro lens with a 1:1 reproduction ratio is required. Adjust the elevation of the camera and focus the lens so that the negative fills the frame – there’s no benefit to leaving gaps of dead space around the edge, you’re just losing megapixels in your final scanned film shot. Focus the macro lens on details within the film negative itself, not on the edge of the film strip. My first thought – aren’t they the same thing? Having learned this the hard way – yes in theory, no in practice.
This is macro photography. The plane of focus of the lens is so narrow that slight misfocuses will ruin your scan. Consider:
- The camera, mounted to the copy stand, needs to be at a right angle to the film strip.
- The holder for the negative needs to be on a flat surface.
- The film needs to be stretched out flat within the holder.
- The lens must be at its optimal aperture to ensure it gets sharpness across the entire frame (you don’t want your film scans to only have a sharp centre). I set my lens at f/5.6. Given the lens is centimetres away from the negative it’s scanning, the focal plane is very thin.
- The light box only gives off so much light (mine is 95 CRI). This means at f/5.6 I need to set my camera at ISO200 to achieve a 1/20s shutter speed on the camera.
- The camera is mounted to a copy stand – not a heavy tripod. Long shutter speeds risk camera movement and blurry images.
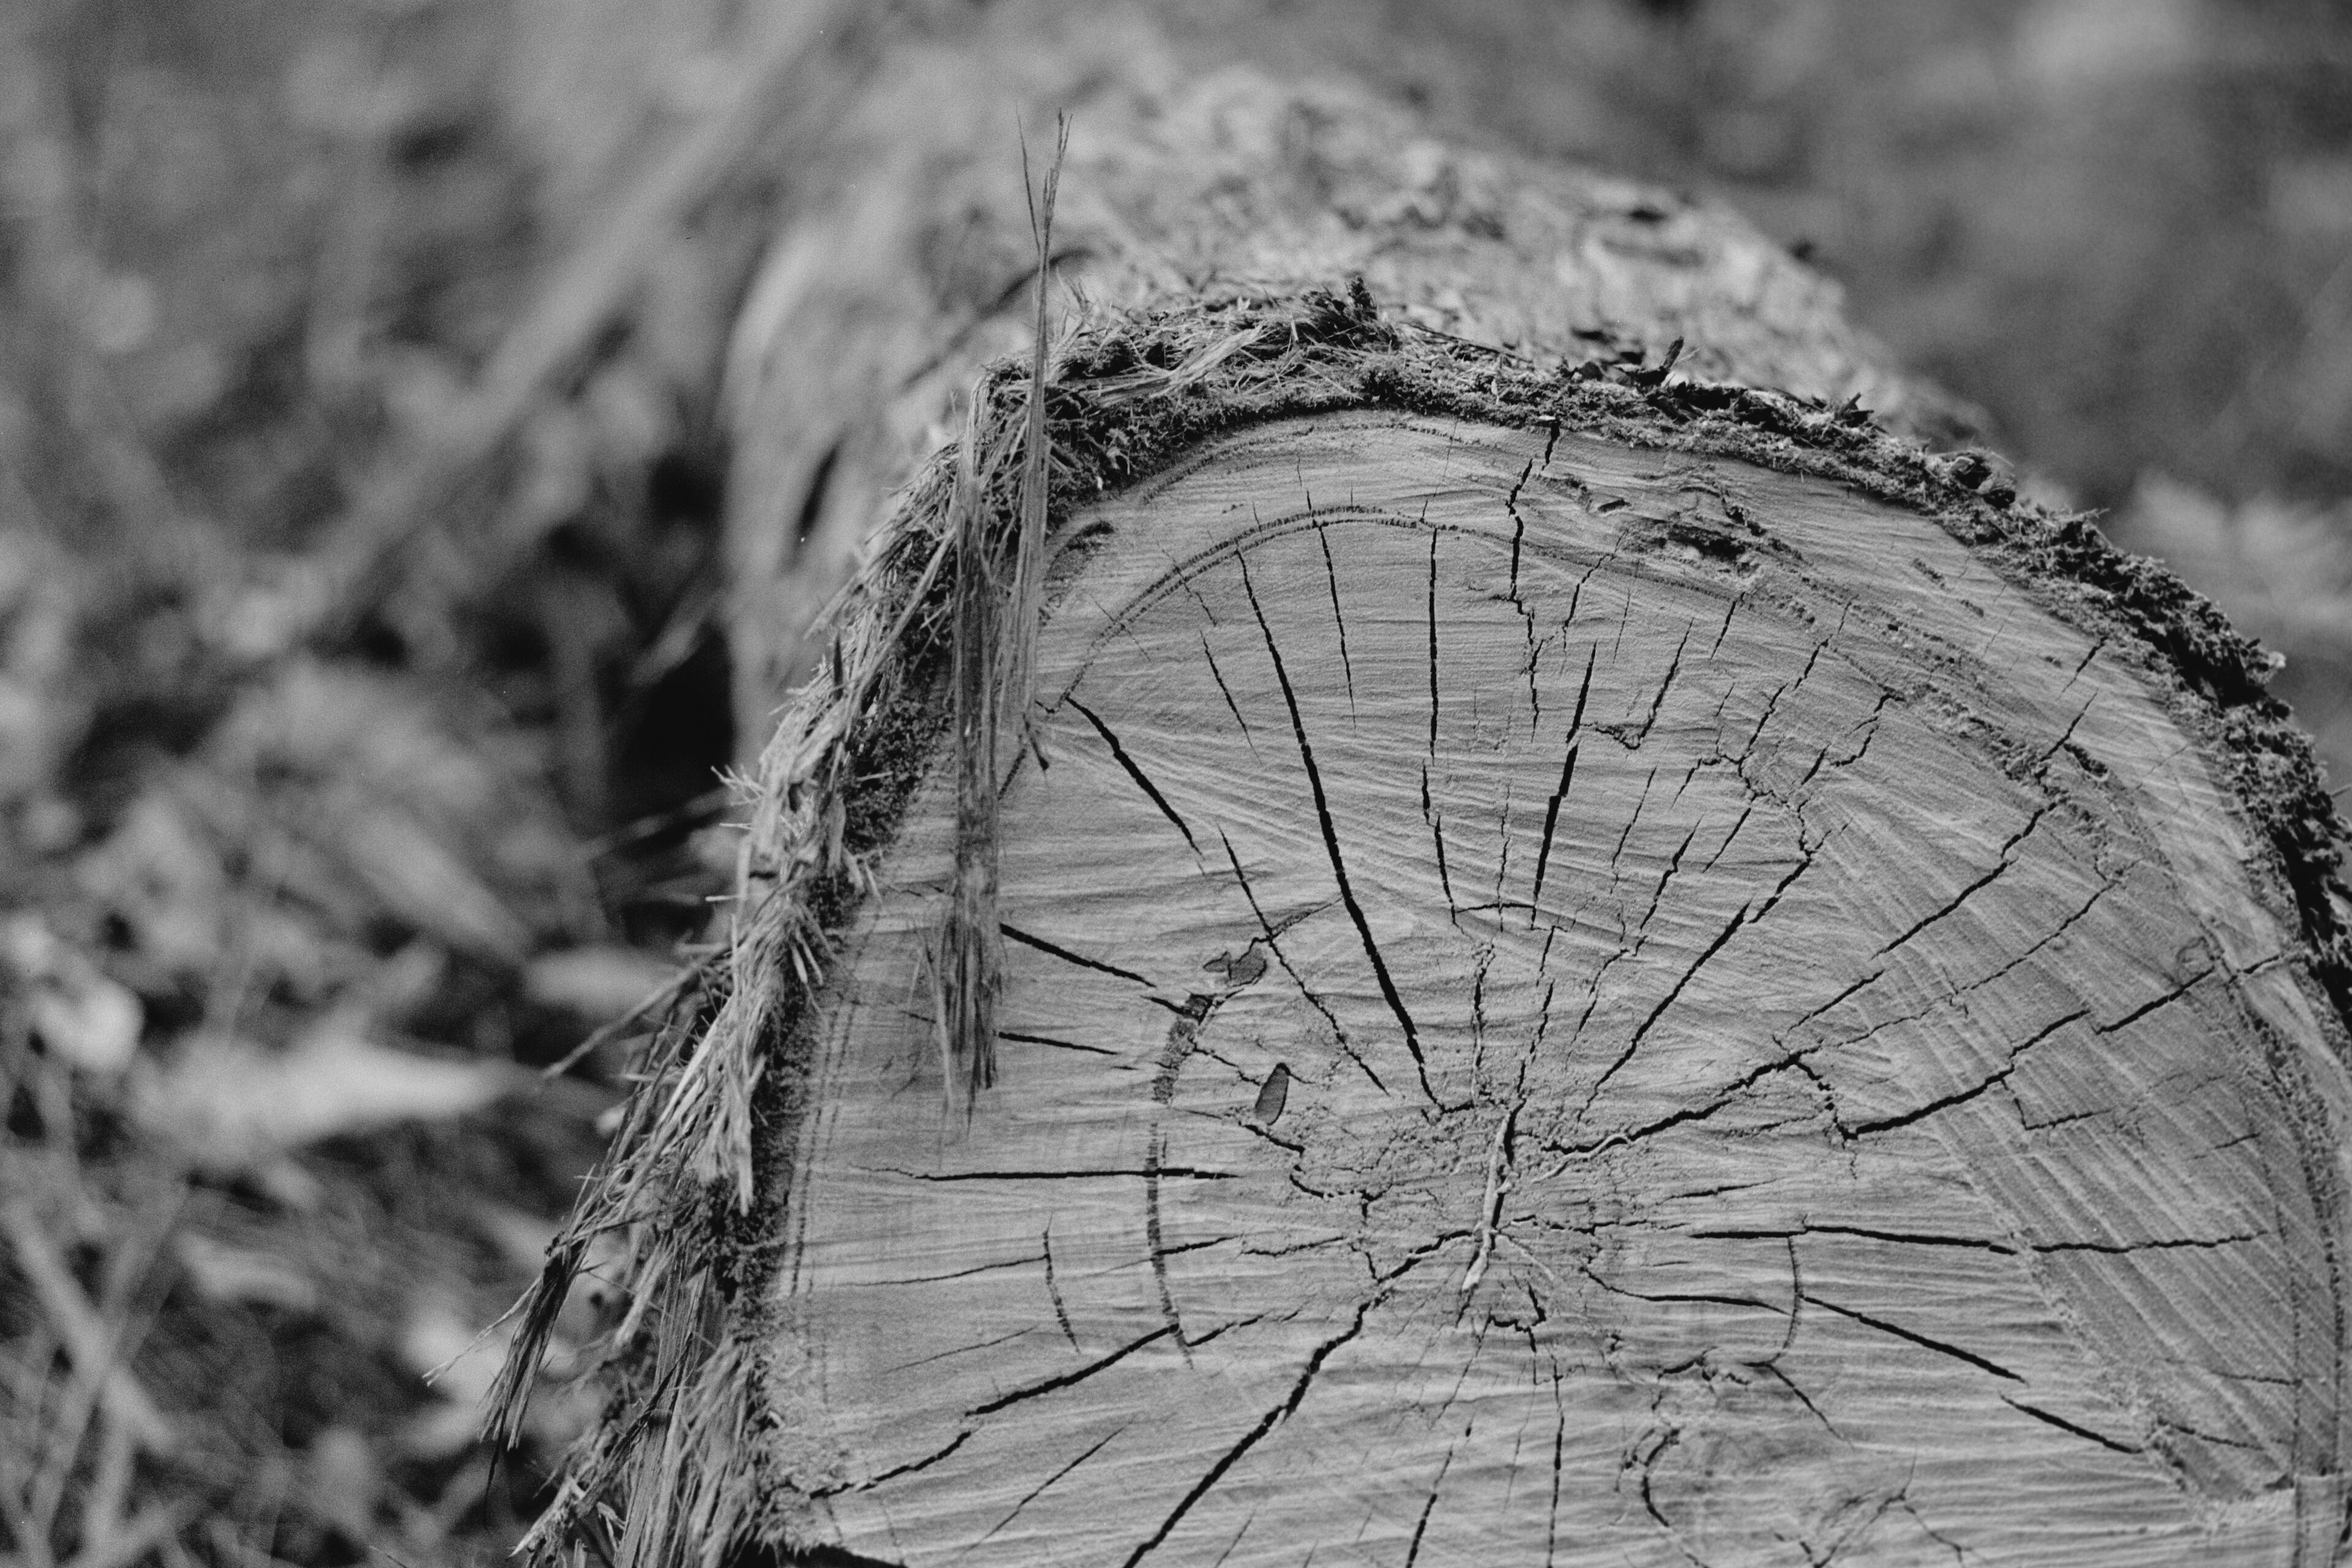
Look closely at the first image of this blog. The right side of the frame looks slightly out of focus, even though the rest of the frame has elements in front of it and behind it that are perfectly in focus. Here I messed up focus with the digital scan of the image. It’s a creative technique I want to explore more – intentionally inducing out of focus areas in the original frame through digital scanning. Not so effective with landscapes that require front to back focus, but you could subtly add out of focus areas to portraits.
Exposure
Eternally repeated wisdom on the internet is that you should expose film for the shadows and expose digital for the highlights. The idea being that film as a medium (but more specifically select films) have exposure characteristic curves that can better handle over exposure, whereas digital sensors once over exposed can never recover highlights and you get an image with burned out pixels. Opposite case for the shadows. When scanning film, the real exposure has already been captured on the negative and if it’s horribly over exposed or under exposed there’s not much to be done. However if the exposure was a few stops out on either side, or is a scene with a high dynamic range, then you can compensate in the digital capture of negative, by intentionally exposing for the highlights or shadows on the negative. In digital photography terms – intentionally expose to the right or expose to the left to bias the detail you want to capture from the negative.
Generally when scanning film, I’ve never found exposing to the right to be necessary. When scanning your negatives have the light histogram on the digital camera’s display. As long as most of the detail is within the middle of the histogram, your result will be fine. A couple of things to watch out for:
- Remember you are shooting negatives – dark areas of the negative is the light part of your final frame. So exposing for the shadows on your negative actually gives you more highlight detail in the final image. Not intuitive!
- Although the negative fills the frame, there may be a dark border of the film holder, or extreme bright light coming directly from the light source. Consider these when interpreting the histogram and adjusting the exposure. ie. It’s fine to have burned out areas of the digital image, as long as they aren’t coming from the area of the film negative.
- Beware thin negatives. If the negative is too thin then you’re getting bright lightbox light coming through and you can potentially see some artifacts on the resulting digital image. If your negatives are thin, consider intentionally underexposing. It might not get the final exposure you want, but it’s better than having digital artifacts.
- The only source of light in the room you are scanning should be the lightbox. Extra light in the room can add to uneven exposures of the negative frame. I scan at night with the door shut, light off, and computer unplugged.
.
Digital Processing
After scanning a roll of film you have a bunch of digital RAW files of the negatives. Next step is to convert the negatives to positives. If you’re shooting colour then you’re almost certainly going to need to dole out some coin on software. I use Film Lab, alternatives are available. These tools do the colour conversion, make it easy to crop the image to exclude the film borders, and adjust exposure and contrast. My goal with Film Lab is to export final-cropped images where the colours look good. The image shouldn’t be underexposed, and there should be close to the level of contrast I want in my final image.
From Film Lab, I export my now colour-positive images as TIFFs and load them into Darktable where I do my final edits. This is really only limited to two things: spot corrections and exposure. Most spot corrections are to remove dust, hairs, or unwanted crap that was on the negative when I scanned it. More on this below. For exposure:
- Beware there is nowhere near the exposure latitude that you get when shooting digital photos. From a TIFF file exported from Film Lab I can perhaps squeeze another couple of stops of light out of the file before distortion sets in – compared to the four or five stops I can get from landscapes shot with the same Sony digital camera.
- Global exposure. Assuming that the original exposure of the image was correct, I generally adjust the digital image exposure to ensure it takes the full dynamic range of the histogram – this makes blacks look black and highlights look light. If I’m going to print the image I’ll overexpose by up to a stop to ensure a good physical result.
- Local exposure. Most of my adjustments are with the Graduated Density filter, and Vignette for black and white photos. Sometimes I’ll do very local adjustments to squash overexposed areas such as bright lights, or add a bit of glow to a subject. I don’t use parametric masks because the results I get always make the image look artificial (likely a skill issue).
.
Dust Mitigation
The most soul sapping part of scanning your own negatives is having to edit out the dust and hairs that were sitting on your negatives when you scanned them. Dust will always get on the negative somehow. To minimise this, I practice defense in depth.
- Request your film lab put the film in plastic film sleeves before you take it home. Some dust will have floated onto the negative at the lab (or at home if you develop it). The sleeve is to stop new dust settling on it.
- Before setting up the film scanning station, wipe down the film holder, copy stand, lightbox etc with a microfiber cloth. Then wipe down your workstation or desk, focusing on the area that the film negative is going to sit on.
- When you are ready to scan, take the film negative out of the sleeve and hold it vertically dangling down. Spend 30 seconds blowing it aggressively with an air rocket blaster. Then wrap a microfiber cloth around either side of the film and gently pull it down. Don’t apply too much pressure or risk scratching the negative. I’ve never tried compressed air because of the cost and risk of residue from the can.
- Load the hopefully clean film negative into your scanning setup. Using the torch light on your phone, inspect the negative for any dust. Repeat cleaning steps if necessary.
Finally, spend time learning every detail about the spot removal and retouching features of the photo editing software you use.
Photos shot on a Nikon FM2n using the Voigtlander 40mm and 90mm lenses. Ilford XP2 Super black and white film.